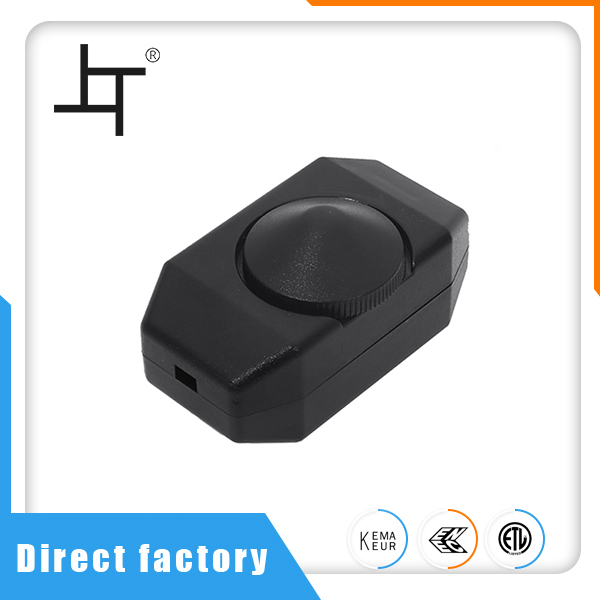
How to wire a typical residential dimmer switch
2023-11-13
A dimmer switch is a type of electrical switch that allows you to adjust the brightness of a light fixture. It provides a convenient way to control the intensity of light in a room, offering flexibility and ambiance. Dimmer switches are commonly used in homes, offices, and other spaces where adjustable lighting is desired. Here's a basic guide on how to wire a typical residential dimmer switch:
Materials and Tools:
2. Screwdrivers
3. Wire stripper
4. Wire nuts
Steps:
1. Turn Off Power:
- Before starting any electrical work, turn off the power to the circuit at the circuit breaker or fuse box. Use a voltage tester to confirm that the power is off.
2. Remove Old Switch (If Applicable):
- If you are replacing an existing switch with a dimmer, remove the cover plate and unscrew the switch from the electrical box.
3. Identify Wiring:
- Identify the wires in the electrical box. Typically, you will have a black (hot) wire, a white (neutral) wire, and a bare copper or green (ground) wire.
4. Disconnect Old Switch:
- Disconnect the wires from the old switch. In a standard switch setup, you'll typically have a black wire connected to one screw terminal (common), and another black wire connected to the other screw terminal (usually the switched hot).
5. Connect Dimmer Switch:
- Connect the wires to the dimmer switch. Most dimmer switches have two black wires (one for incoming power, one for outgoing power) and a green or bare copper wire for grounding. Connect the incoming hot wire to the dimmer's "hot" or "common" terminal and the outgoing hot wire to the "load" terminal. Connect the ground wire to the dimmer's ground terminal.
6. Secure the Dimmer:
- Carefully tuck the wires into the electrical box, making sure not to pinch or damage them. Secure the dimmer switch to the electrical box using the screws provided.
7. Attach Cover Plate:
- If the dimmer switch includes a cover plate, attach it according to the manufacturer's instructions.
8. Turn On Power:
- Once the wiring is complete and the dimmer is securely mounted, turn the power back on at the circuit breaker or fuse box.
9. Test the Dimmer:
- Test the dimmer switch to ensure it is functioning correctly. Gradually turn the dimmer knob or slide the dimmer lever to adjust the brightness of the connected light fixture.
Keep in mind that this is a general guide, and the specific instructions may vary based on the dimmer switch model and the local electrical codes. Always follow the manufacturer's instructions and adhere to safety guidelines when working with electricity. If you're unsure or uncomfortable with the process, consider consulting with a qualified electrician.


