

China Reflective Alu Foil Supplier for High-Performance Insulation Solutions
2026-10-28
Insulation isn’t just about thickness—it’s about how materials handle radiant heat. When temperatures spike or plummet, the right reflective barrier can cut energy loss dramatically. That’s where Jinbo, a China-based supplier of reflective aluminum foil, steps in with solutions built for high-performance insulation. But what makes their foil stand out in a crowded market? Keep reading to find out.
Radiant Heat Isn't Magic—Here's How Aluminum Foil Stops It
Most people think of insulation as something thick and fluffy, but radiant heat plays by different rules. When a hot object—like a roof baking in the sun—emits infrared energy, that energy travels in straight lines until it hits something. Aluminum foil has a very low emissivity, usually around 0.03 to 0.05, which means it reflects roughly 95–97% of the radiant heat that strikes it. Instead of absorbing that energy and passing it into your attic or walls, the foil bounces it right back where it came from.
The key is that radiant heat doesn't need air molecules to move. It can cross a vacuum or an air gap without warming the space in between. That's why simply laying foil against a hot surface doesn't do much—it needs to face an open air space to reflect the infrared radiation effectively. Once the foil is installed with the shiny side facing that gap, the heat that would normally radiate into your living space gets turned away before it has a chance to raise the temperature.
There's a common misconception that aluminum foil works by "trapping" heat, but it's actually the opposite. The foil's polished surface doesn't store heat well and re-emits very little. Even when the foil itself gets warm from contact with other materials, its low emissivity means it won't shed that warmth into the surrounding air as infrared. This two-step behavior—reflecting incoming radiant heat and refusing to release what little it does absorb—makes a thin layer of foil surprisingly effective in hot climates, especially under roofs and in attics where radiation dominates over conduction or convection.
Alloy and Temper Choices That Change How Foil Performs on the Line
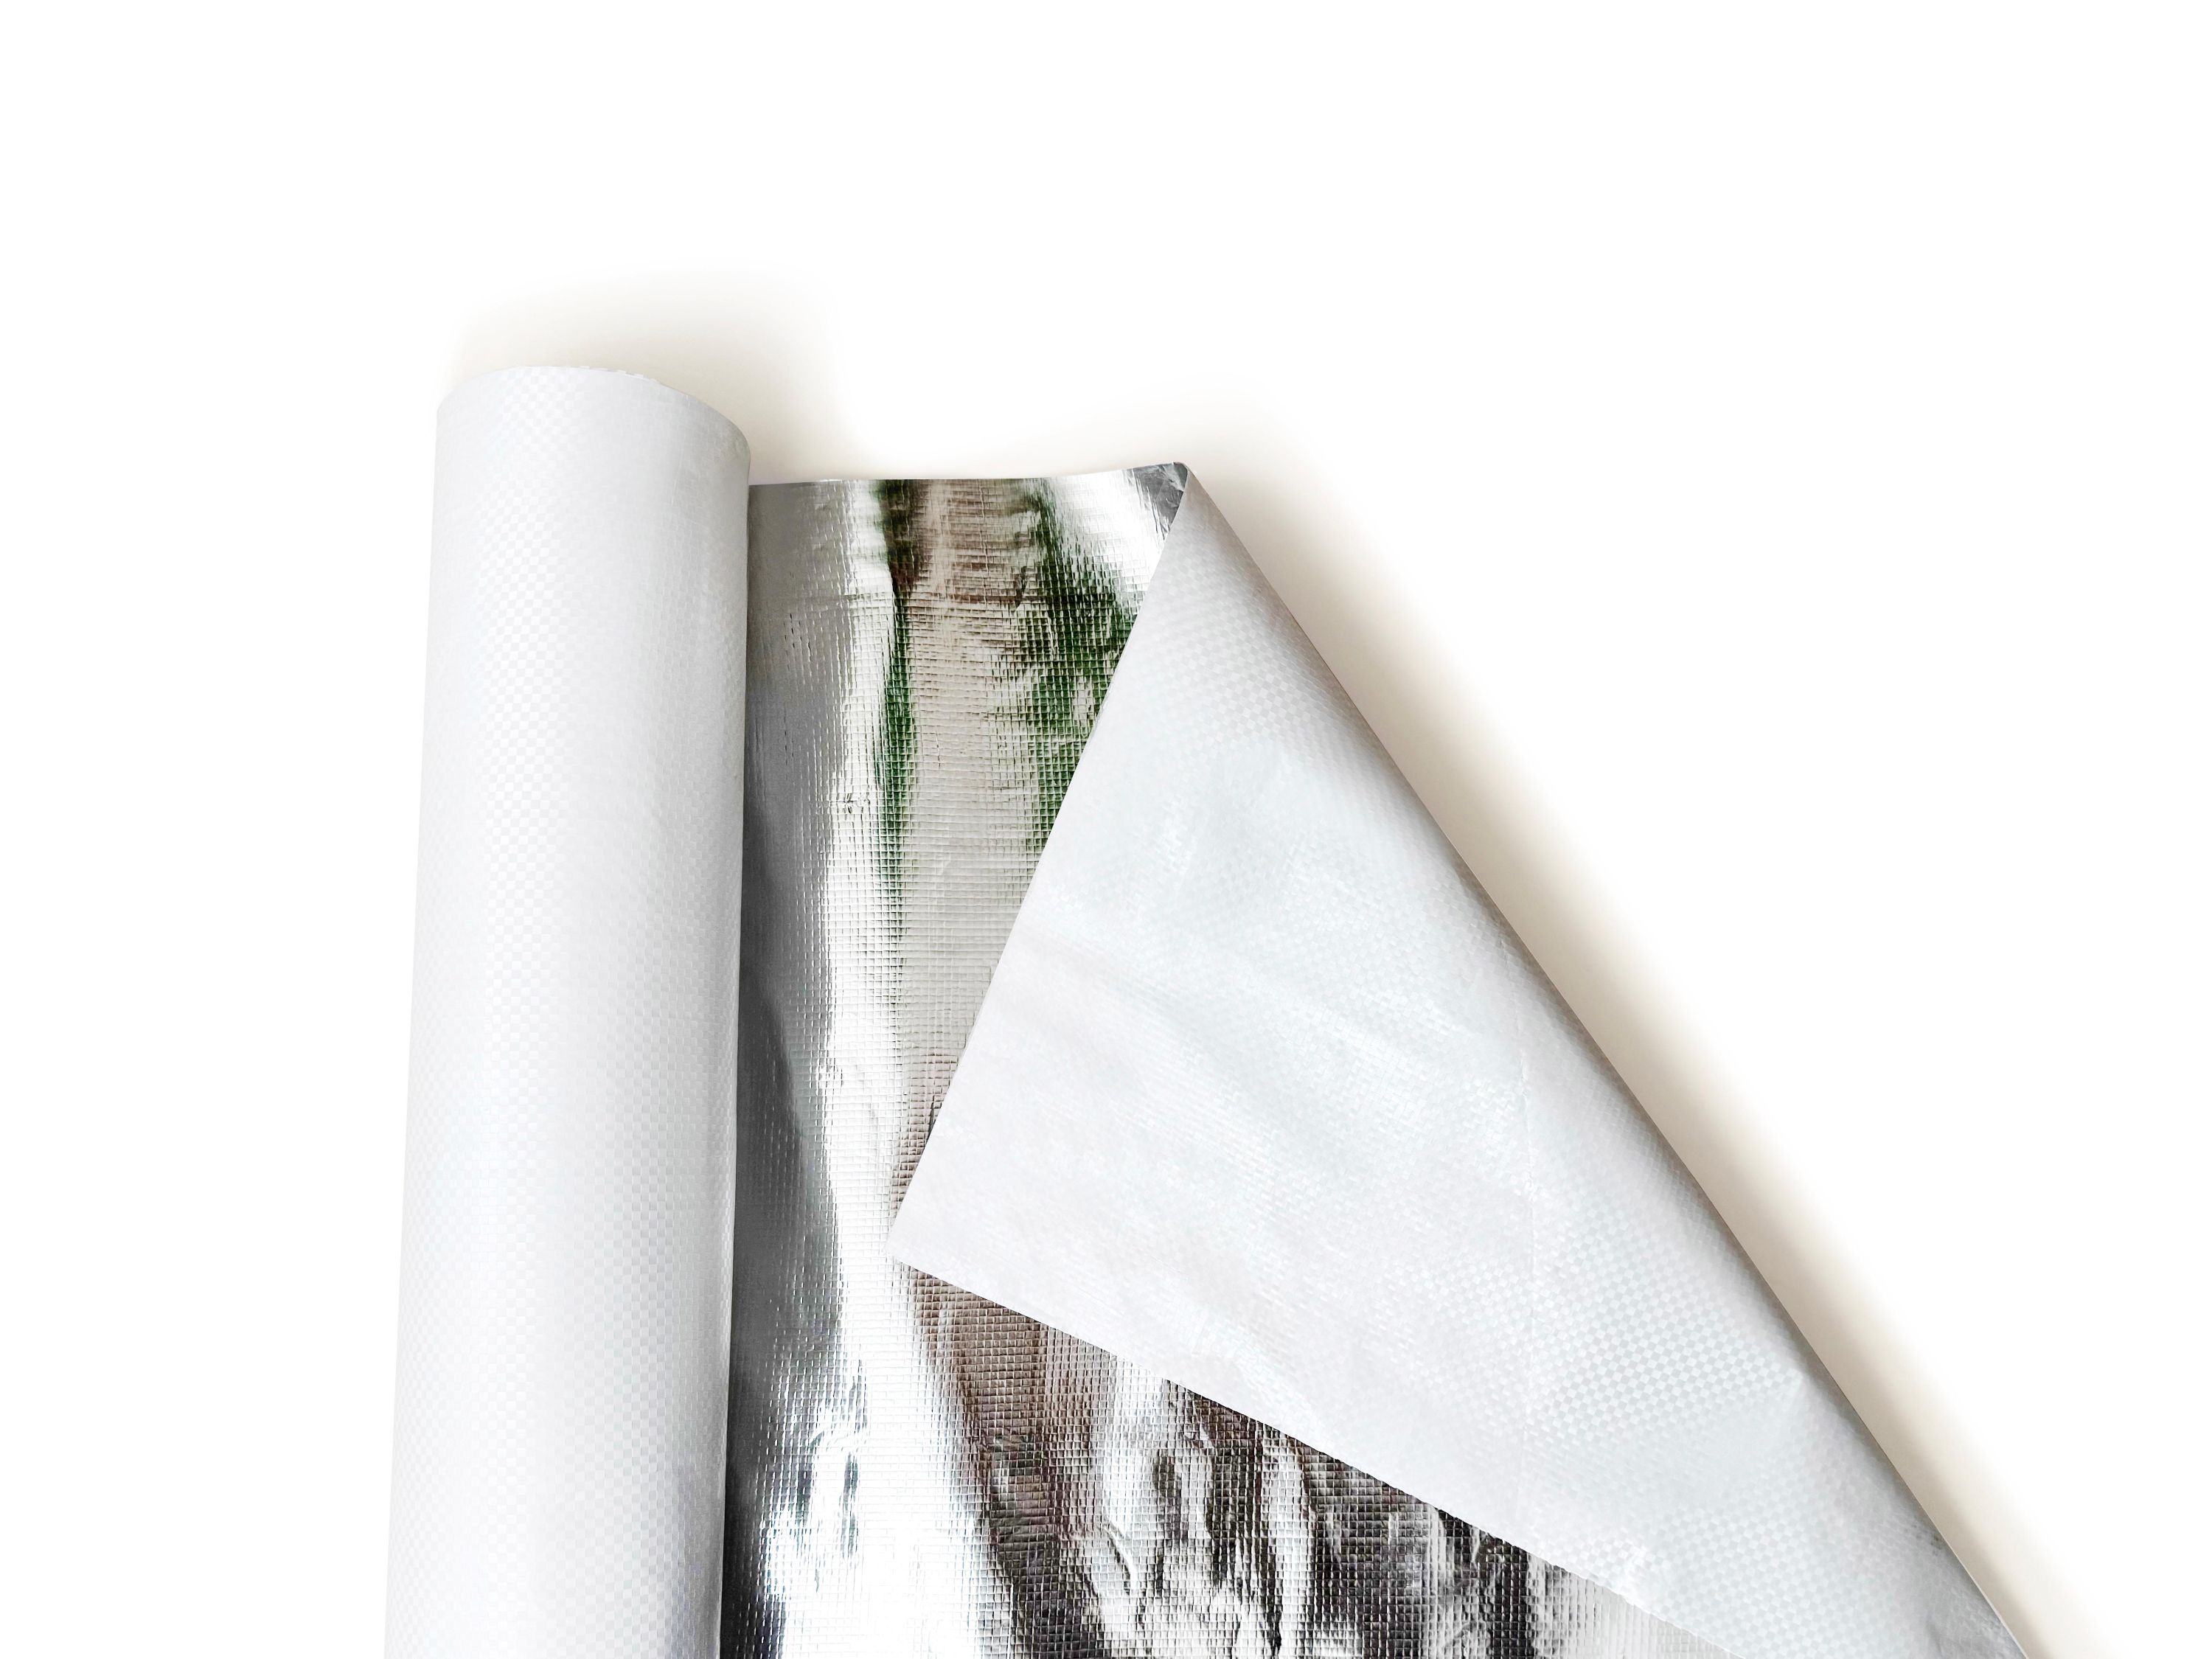
Alloy composition sets the baseline for how foil behaves under tension, heat, and pressure during converting. A higher iron-to-silicon ratio, common in 8011 alloys, creates a finer grain structure that resists pinholes and holds gauge more consistently at high speeds. In contrast, 1235 alloys with lower impurity levels roll thinner but often require tighter process control to avoid edge cracking. The choice between these isn't merely about chemistry—it changes the window for roll gap settings, rolling oil viscosity, and even the frequency of work roll changes.
Temper selection plays an equally decisive role. Fully annealed O-temper foil folds dead soft, which suits pharmaceutical blister packs and food wraps, but it stretches and tears under minimal stress on high-speed lines. Work-hardened tempers like H18 or H19 provide the stiffness needed for lidding and semi-rigid containers, yet they introduce springback that can complicate die-cutting and heat-seal jaw alignment. Many converters overlook the intermediate H14 or H24 tempers, which offer a practical compromise for laminations where the foil must survive a gravure station without wrinkling but still conform around a mandrel.
Line performance ultimately hinges on matching alloy and temper to the specific downstream operation. A foil that runs flawlessly on a rotary pouch line may generate static and jam a horizontal form-fill-seal machine if the temper is too hard or the alloy lacks enough oxide stability. Trial runs often reveal that a minor shift—like moving from 8011-H18 to 8011-H16, or adjusting the annealing soak time by twenty minutes—can eliminate recurring breaks, reduce dusting at the unwind, and keep registration marks sharp without changing the final package's barrier properties.
Why Surface Prep Matters More Than Raw Reflectivity
A spec sheet can advertise 95% total reflectivity, but that number assumes an idealized, perfectly smooth substrate. Lay that same coating over a surface dotted with fine scratches, embedded brake dust, or a faint oxidation haze and the real-world result drops sharply. The reason is simple: light doesn’t care about the coating’s potential. It hits every microscopic ridge, pit, and contaminant particle, scattering in dozens of directions before it ever reaches your eye. What you perceive as dullness is rarely the coating giving up—it’s the unprepared surface sabotaging the optical path.
Surface prep does the unglamorous work that raw reflectivity can’t. It removes the translucent film of road grime, levels micro-scratches with a fine abrasive, and chemically opens the substrate so the reflective layer can bond tightly and cure evenly. Think of it like laying a mirror over gravel versus polishing that gravel into glass first. The mirror itself hasn’t changed; the foundation has. A well-prepped panel lets the coating flow out thin and continuous, eliminating the tiny air pockets and uneven thickness that cause cloudy patches or premature failure.
Skipping prep to save time is a false economy. You’ll end up applying more coats, buffing longer, and still chasing a shine that never locks in. The professionals who get that deep, wet-looking reflectivity don’t rely on a magic product—they spend most of their effort on what’s underneath. Because once the surface is truly clean and flat, even a mid-range reflective coating can outperform a premium one that was slapped over contamination. That’s why the prep stage is where the finish is actually won.
Pairing Foil With Kraft, Bubble, or Foam Without Delamination
Getting a clean bond between foil and kraft, bubble, or foam comes down to treating the foil surface with respect. The metallic side is naturally slick and often carries a thin oxide layer or residual rolling oils, which quietly sabotage adhesion. A quick corona or plasma pass changes that — it roughens the surface at a microscopic level and adds polar groups that give the adhesive something to grip. Skip this step and you’ll see edge lifting within days, especially on flexible bubble or foam where the material flexes constantly.
Adhesive choice is the other half of the equation. Water-based acrylics work fine for lightweight kraft-to-foil bonds, but once you introduce bubble or foam — both of which move, stretch, and off-gas — a solventless polyurethane or a reactive hot melt gives you the elongation and chemical resistance you need. Apply it in a thin, even coat; too much adhesive creates its own weak boundary layer, and too little leaves dry spots. For foam, consider a two-pass lamination: first a primer on the foam to seal open cells, then the foil layer. It costs a few extra minutes but prevents that crinkly, half-peeled look later.
Finally, control the nip pressure and temperature during lamination. Foil transfers heat fast, so a roll that’s too hot can cure the adhesive before it wets out the kraft or foam, causing micro-voids. Too little pressure, and the materials never truly meet. Run a few peel tests along both machine and cross directions — if the failure mode is adhesive-to-foil, revisit your surface treatment; if it’s cohesive within the adhesive, bump up the coat weight or switch resins. A stable bond shouldn’t rely on luck or a heavy hand.
Reading a Sample Coil for Pinholes, Waviness, and Other Red Flags
A sample coil rarely reveals its flaws at a glance. You need to unroll a few feet under good light and run your fingers along the surface, feeling for interruptions that the eye alone might miss. Pinholes are the sneaky ones—tiny voids that compromise barrier properties and invite corrosion. They don't announce themselves; they hide in the flat, unprinted areas where coating thickness dropped or where a roller picked up debris. Waviness is more visible but just as dangerous: a subtle undulation across the width that throws off tension control downstream and leads to baggy edges in the finished roll.
Beyond these two, watch for chatter marks, edge cracks, and uneven gloss. Chatter shows up as closely spaced lines perpendicular to the machine direction, often from a vibrating blade or an out-of-round roller. Edge cracks are a sign of over-hardened material or improper slitting—they'll propagate under stress and cause web breaks. Gloss variation across the width suggests inconsistent coating or substrate roughness, which will be glaringly obvious after lamination or printing. Take your time with a straightedge across the sheet; lay it at several points and look for daylight underneath. The straightedge doesn't lie.
When you find a red flag, don't just mark it and move on. Trace it back to its source: a worn die lip, a dirty nip, a cooling roller out of spec. Keep a small log of what you see—photos with a scale reference, measured frequency of marks per foot, exact locations. That record is what turns a subjective "this feels off" into a defensible cause-and-effect story. And if a coil passes your initial check, pull a fresh sample from the opposite end of the master roll. Flaws love to cluster at start-up and near the core, where tension and temperature are least controlled.
Custom Widths and Embossing Patterns That Reduce Field Waste
Ordering film in widths that match your bed or trench dimensions changes how much scrap ends up in the dumpster. Standard rolls often force crews to trim a foot here and a few inches there, and that off-cut adds up fast across a large site. When you specify a custom width, the material arrives ready to lay, so there’s almost nothing to slice away after the fact. The savings show up not just in disposal fees but in the labor hours spent handling waste.
Embossing does more than give the surface a textured look. A well-designed pattern channels air out from under the film as it unrolls, which means fewer bubbles, fewer wrinkles, and far less rework in the field. That rework is a hidden source of waste — sections get pulled up, torn, or stomped into mud and then thrown out. With the right embossing depth and spacing, the film lies flat the first time and stays put while backfilling or planting moves forward.
Pairing custom widths with an embossing pattern tuned to your installation method removes the two biggest sources of avoidable scrap: oversizing and handling damage. Instead of accepting whatever is stocked at the distributor, you get a product matched to the actual geometry of the job. That means fewer partial rolls left behind, less plastic sent to landfill, and a cleaner work area at the end of each day.
FAQ
The foil's surface reflects radiant heat instead of absorbing it. When combined with air spaces or backing materials, it reduces heat transfer in roofs, walls, and HVAC systems. The key is low emissivity on one side and proper installation to maintain an air gap.
Chinese manufacturers often run integrated production lines from raw aluminum to finished laminates, which helps control thickness consistency and surface quality. Many also offer custom widths and multi-layer structures without long lead times.
Look for products with a moisture-resistant barrier layer and an adhesive that remains stable beyond 120 degrees Celsius. Some suppliers run accelerated aging tests and can share data on tensile strength retention after heat exposure.
Yes. Lighter variants work for attic and wall insulation, while reinforced or laminated versions suit ductwork, cold storage, and industrial piping. The main difference is the backing material and puncture resistance.
Beyond standard rolls, you can request custom widths, perforations for breathability, laminated kraft paper or woven fabric backings, and printed logos. Some suppliers also adjust aluminum thickness to match budget and thermal goals.
Installers should avoid tearing the thin aluminum layer and maintain an air gap of at least 20 mm on one side. Overlapping seams should be taped with matching foil tape to prevent thermal bridging.
Fiberglass and foam mainly slow conductive heat flow, while reflective foil targets radiant heat. In hot climates or under roofs, foil can be more space-efficient and easier to install. But it is often used together with bulk insulation for year-round performance.
Request a sample roll first. Confirm the aluminum layer gsm or microns, the total roll length and width tolerance, whether the adhesive is solvent-free, and if the supplier provides third-party test reports for reflectivity and flame spread.
Conclusion
Radiant heat isn't some mysterious force—aluminum foil stops it by reflecting thermal radiation back toward the source, which is why a low-emissivity surface matters far more than thickness alone. But not every foil roll performs the same once it's on your laminating line. Alloy and temper choices determine whether the material runs flat at speed or wrinkles, tears, and jams. A 1235-0 foil behaves differently from 8011-H22, and a supplier that doesn't understand that will cost you downtime. Surface prep is another hidden variable: raw reflectivity numbers don't mean much if the foil carries rolling oils, oxidation, or microscopic debris that weaken the bond with kraft, bubble, or foam. Without proper cleaning and corona treatment, delamination is almost guaranteed—especially under thermal cycling or high humidity.
When you're evaluating a China-based reflective alu foil supplier, don't stop at a polished data sheet. Ask for a sample coil and inspect it under a light table for pinholes, edge waviness, gauge bands, and other red flags that static images won't show. Pinholes in particular silently kill vapor-barrier performance, while waviness leads to uneven adhesive pickup and trapped air. Then think about field installation: custom slit widths and embossing patterns aren't just nice-to-haves. They directly reduce cutting waste, speed up rollout, and help the foil lay flat against irregular surfaces. A supplier willing to work with your production specs—rather than pushing stock sizes—is the difference between a quote that looks cheap and a roll that actually performs on the job.
Contact Us
Contact Person: Miranda
Email: [email protected]
Tel/WhatsApp: +8615231299719
Website: https://www.ihousewrap.com/